
Installing an EPDM liner correctly is crucial for its ability to perform as it should. Rollgum EPDM is best known for its strength, durability, excellent flexibility, and long-lasting life. Once you know how to install it in the right way, it’ll start working effectively and remove the hassle and inconvenience of water leaks.
Step One: Prepare the Site
Site preparation is the first step and it’s a really important part to get right. The dam needs to be dug out well and to the exact specification you’d like. For example, you might want some steps to get in and out, or a ledge, and this is the time to put this in place.
Make sure the base is smooth and free from any large rocks or sharp objects that could puncture or tear the liner. It’s also important to dig an anchor trench around the dam, about 30-40cm wide and 30-40cm deep. This trench will secure the sides of the liner and keep everything in place once installed.


Step Two: Determine How Much Liner You Need (And Order It)
Before you get to installation, you’ll need to figure out exactly how much EPDM liner your dam requires. The most accurate way to do this is to lay a string line or tape measure directly on the ground across your excavation.
To keep the liner firmly in place, secure the extra material, which includes an additional 0.5 to 1 meter of overhang on all sides, in the perimeter anchor trench. Always include this overhang and be sure to capture both the longest and widest sections.
Once you’ve got your measurements, you can order from us directly. While you’re at it, consider whether you’ll also need underlay. In around 90% of cases, we recommend using a geotextile underlay beneath the liner. This is an easy extra step that offers a lot of protection, especially if your dam base has any rocks or roots, as well as any sharp surfaces.
Step 3: Lay Down the Underlay
Lay a geotextile underlayment across the excavation before placing the liner, and avoid using sand as it won’t work the same. To make sure your installation is efficient and the liner lasts longer, protect it from rocks or roots that could cause punctures by using this layer as a shield.
When placing the underlay, work your way down, lifting the underlay away from the contours of the dam, until you reach the deepest part of the excavation. You can fuse the sheets together using heat or sandbags to keep the sheets down and in place if the wind blows.
Make sure to avoid trimming the material too close to the edges, as you’ll need the excess later for secure anchoring.


Step 4: Place the Liner
Once the underlay is down, the next step is putting the liner in place over the top. EPDM liner is heavy, so using an excavator is necessary and will help with the efficiency of laying it. Roll it down from the top, making sure you’re out the way as it unrolls. A team of people are needed for this job, as it’s heavy and the extra ease will help you get the job done efficiently.
During this step, it’s a good idea to make note of where the folds are before you position it as this way you’ll see where the rolls are going to land. When you move it, or if you have to move it to put it into position, flap it around to let the air get to it. Then, move it into the place that you need.


Step 5: Seaming Multiple Liners
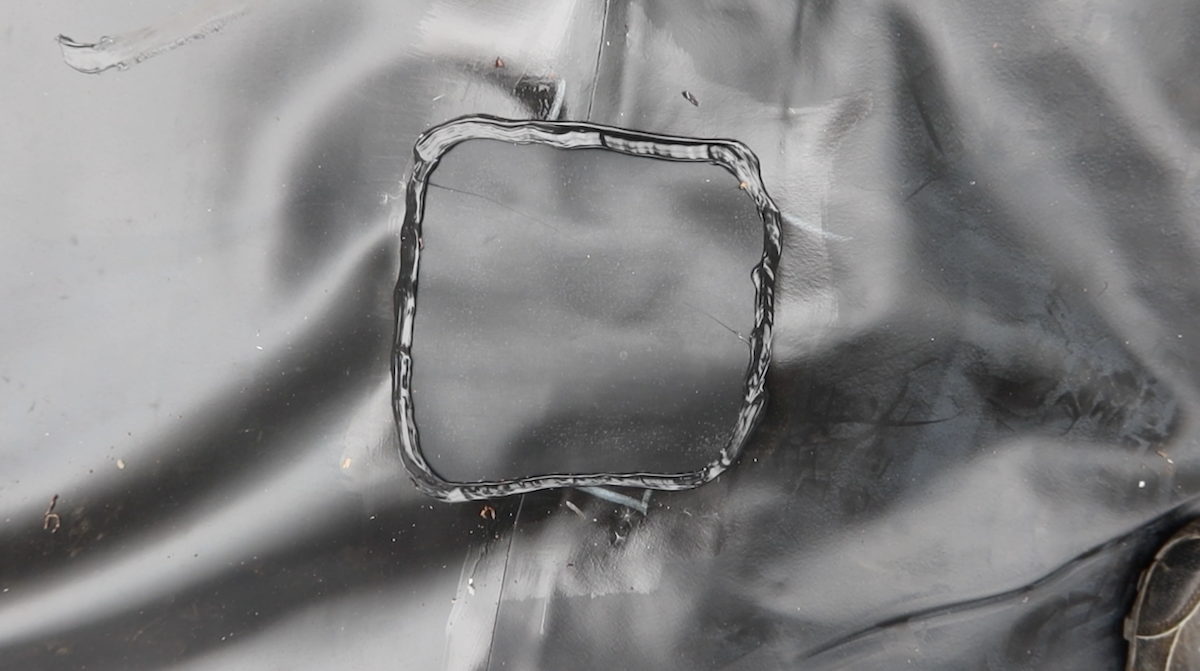
So, multiple liners are in place and it’s now time to join them together. Rollgum EPDM is one of the only liners that doesn’t require hot adhesives, and you can join more than one using a primer and tape system. To do this, mark where the overlap is with chalk, fold back the top half and apply primer in place with a paintbrush.
Next, make sure the primer is tacky by using your finger to see if any of the material comes off. If it doesn’t, you can start applying the double-sided tape. To get a strong bond, use a roller over the tape, and the primer will set off a vulcanising effect with the tape, creating a bond.
When the tape is in place and ready, lift over the piece that you folded back and do the same technique with the primer. Fold over the liner and slowly remove the plastic from the tape as you push your hand down and use the roller to make sure the liner goes on as smoothly as possible.
Don’t worry if there are some folds, just go back to them later and patch them up if necessary using a form tape. This is one sided, but does the same job as the double sided one you used earlier.


Step 6: Anchor the Liner
To help keep the liner in place, tuck the liner edges in the trench. Cut away any access then backfill the trench with soil. This will keep the liner securely in place.


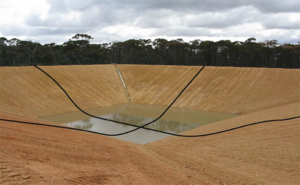
Step 7: Fill the Dam
Begin slowly filling the dam with water only after the liner is properly positioned. As the weight of the water helps the liner conform to the dam’s shape, monitor it closely to make sure it settles correctly into position. Check the edges once the dam is filled to confirm everything is secure and there are no problems.
Step 8: Add Plants and Aesthetic Items (If You Want)
If you want to, you can add plants and aesthetic items into the dam once it’s filled with water. You might even want to add smooth rocks around the edge to make it look appealing, as well as sand if that’s your preference. But as nice as these items are, they can encourage the growth of algae and “bad” bacteria, which will really disrupt the health of the water and ecosystem.

Ready to Install EPDM Liner?
If you’re located in Melbourne and need help, we’re available to do so and can take care of the job for you. Just get in touch with us.
However, if you want to do it yourself, you’ll find everything you need here on this website and lovemydam.com.au.
Helpful links
- Liner: https://lovemydam.com.au/liner/
- Underlay: https://lovemydam.com.au/product-category/liner/underlay/
- Liner Accessories: https://lovemydam.com.au/product-category/liner/liner-accessories/